Easy Tutorial: How to Use VNC Viewer
VNC Viewer allows you to remotely control another computer over a network. This tutorial will guide you through the setup and usage of VNC Viewer step by step.
Step 1: Download and Install VNC Viewer
- Visit the official RealVNC website: https://www.realvnc.com/en/connect/download/viewer/
- Download the version for your operating system (Windows, macOS, Linux, etc.).
- Install the application by following the on-screen instructions.
Step 2: Connect to the Remote Computer
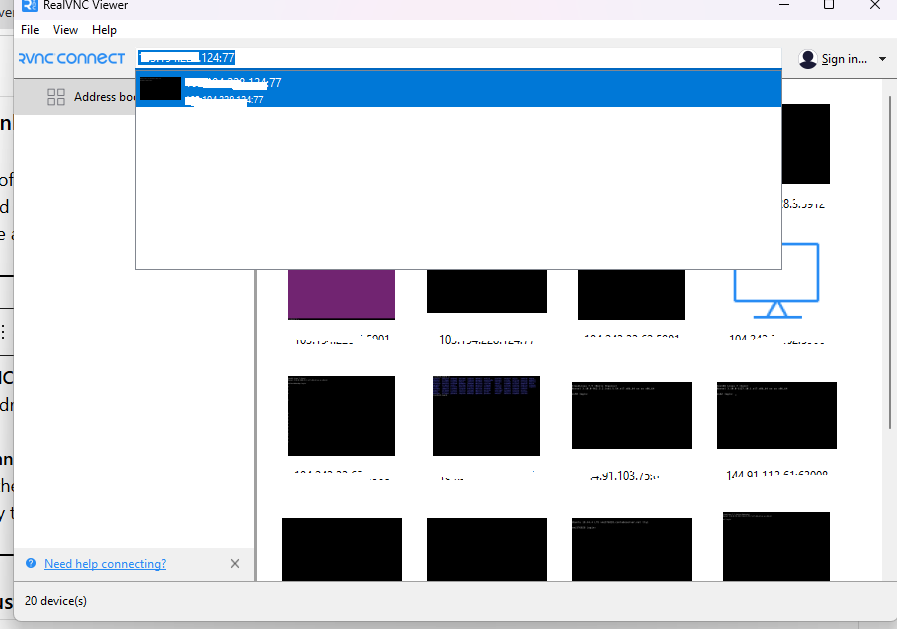
- Open VNC Viewer on your local computer.
- In the address bar, enter the IP address or hostname of the remote computer.
- Click Connect and enter the VNC password (if required).
- Once authenticated, you will see the remote computer’s screen and can control it as if you were physically there.
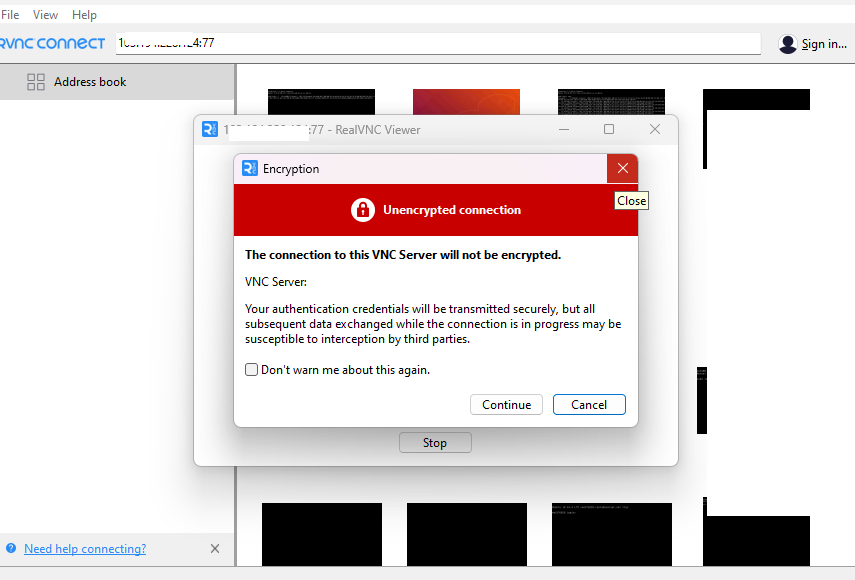
Then click this button
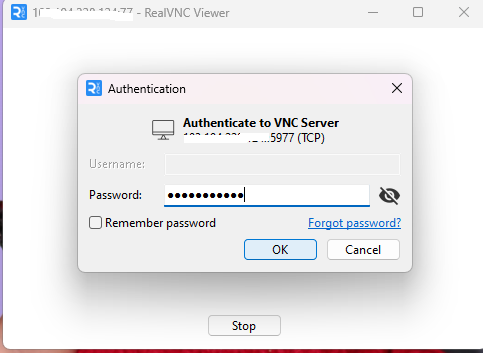
Then enter your VNC password
Step 4: Adjust Settings for Better Performance (Optional)
- Click on the Settings icon before connecting to optimize performance:
- Reduce color depth for slower connections.
- Enable Scaling to fit the screen.
- Adjust compression settings for faster interaction.
Step 5: Disconnect from the Remote Computer
- To disconnect, simply close the VNC Viewer window.
- You can reconnect anytime using the same IP address or hostname.